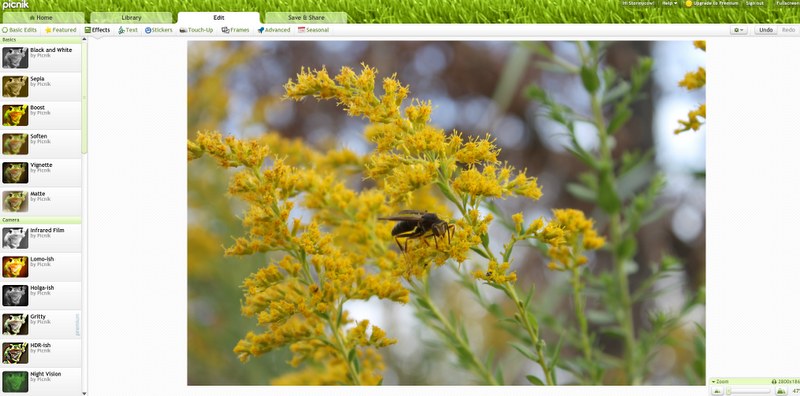
Ya'll know how much I love Picnik, right? I use it all the time to edit my pictures since I haven't figured out my dad's old version of Photoshop... :D You may think you have a good picture but I believe that every picture needs a little editing. No matter what. Take a look at this one....
Perfectly fine, right? But let's take it to the next level and make it BEAUTIFUL. ;)
 |
| upload your picture and go to Basic Effects |
 |
| up the exposure and contrast a little... it's up to you how much, but don't over do it. |
 |
| go to Sharpen and up the clarity a little... |
 |
| I usually add a little bit of Cross Process {to bring out the warm tones} and add a slight vignette. |
that is all I usually do... but depending on the photograph you can adjust as you wish. Faces need a lot more work, so I'll do a tutorial on that soon :D
This whole thing literally takes about 2 minutes MAXIMUM including saving and uploading time.
thanks for reading! if there's any certain thing you'd like to have a tutorial on I'd love to make you one ;)


1 comment:
Do you have to have the membership to use all those features? Or just the free sign up? I've used picnik before, but it seemed to me that most of the things I wanted to use were blocked.
THanks for the tutorial, though. I'm going to star it in my google reader to come back to when I want to edit my next photo!
Post a Comment