Showing posts with label features. Show all posts

Friday, March 30, 2012

Sponsor Spotlight: Haley's World


Hi Live.Love.Crafters!!! Hope you all are having a fabulous day so far. My name is Hayley, and I've just started blogging over at Hayley's World. I actually started the blog last October, but with my husband being deployed and all the holidays that were coming up there was no time.
 I have been married just over 9 years (with him for over 11). We have 2 great, but crazy kids, a boy who will be 7 next month and a girl who is 2.5. I have been a stay at home mom every since my first one was born.

I'm still trying to find my place in the blog world. But mostly the blog is/will be crafts, cooking, kids, life. :) I'm not a fasionista by any means so no clothing posts from me, except maybe a WWIW.

I am currently not on Facebook...gave it up for Lent. I'm actually liking it so not sure if I'll go back or not, maybe just for a blog page. I am getting more into Twitter so for sure find me on there.

Wanna learn a little more about me? Check out my 11 Things posts on my blog.
Thanks for taking the time to read a little about me! I look forward to getting to know you all. :)

Hayley

---------------------------------------------------------------------

I just love Hayley and her blog! Isn't her family adorable?! Their little girl's sunglasses bring me back to when i was little... *sigh* Anyways, why don't you head over there and read more about her family and some crafts HERE. :D

follow Hayley:
twitter: @_HayleysWorld

Wednesday, March 21, 2012

Guest Post Tutorial: Spring Yarn Wreath


      Hi everyone! I'm super excited to be guest posting at Live.Love.Craft. This is my first guest post so I feel really honored that Alyssa asked me! Here's a little bit about myself. I've been blogging for a few years now mainly to keep in touch with family and friends, but just recently started up this DIY/recipes blog. I love crafting, creating, sewing (check out my Etsy shop, The Turquoise Pear), and cooking so this is the perfect outlet for me where I want to inspire and be inspired. I live in Chicago with my husband but I'm a southern girl at heart (born and raised). I'm a third grade teacher and I love what I do. All right, enough about me. Onto the good stuff! Today I will be showing you how to make a yarn wreath with felt flowers. This is a super easy project, that I recommend doing with some girlfriends, putting on a chick-flick and making a fun night of it. I myself enjoyed sitting outside in the 70 degree sunshine. A rare treat for March in Chicago.
Here's what you'll need: 1 wreath (mine has an 8" diameter)* 1 ball of yarn (You'll use about half) 1/4 yd felt in the color(s) of your choice (1/4 yard should get you about 8-12 flowers) hot glue gun/sticks *I originally made the wreath using an idea I had seen on Pinterest where you buy gray pipe insulation from Home Depot and duct tape it to make a DIY wreath. It didn't work. At least not for me. The wreath began to droop and I was slightly annoyed. Just buy a wreath from a craft store. It's only about $3-$5 more at Joann's or Michael's.
The How-To:
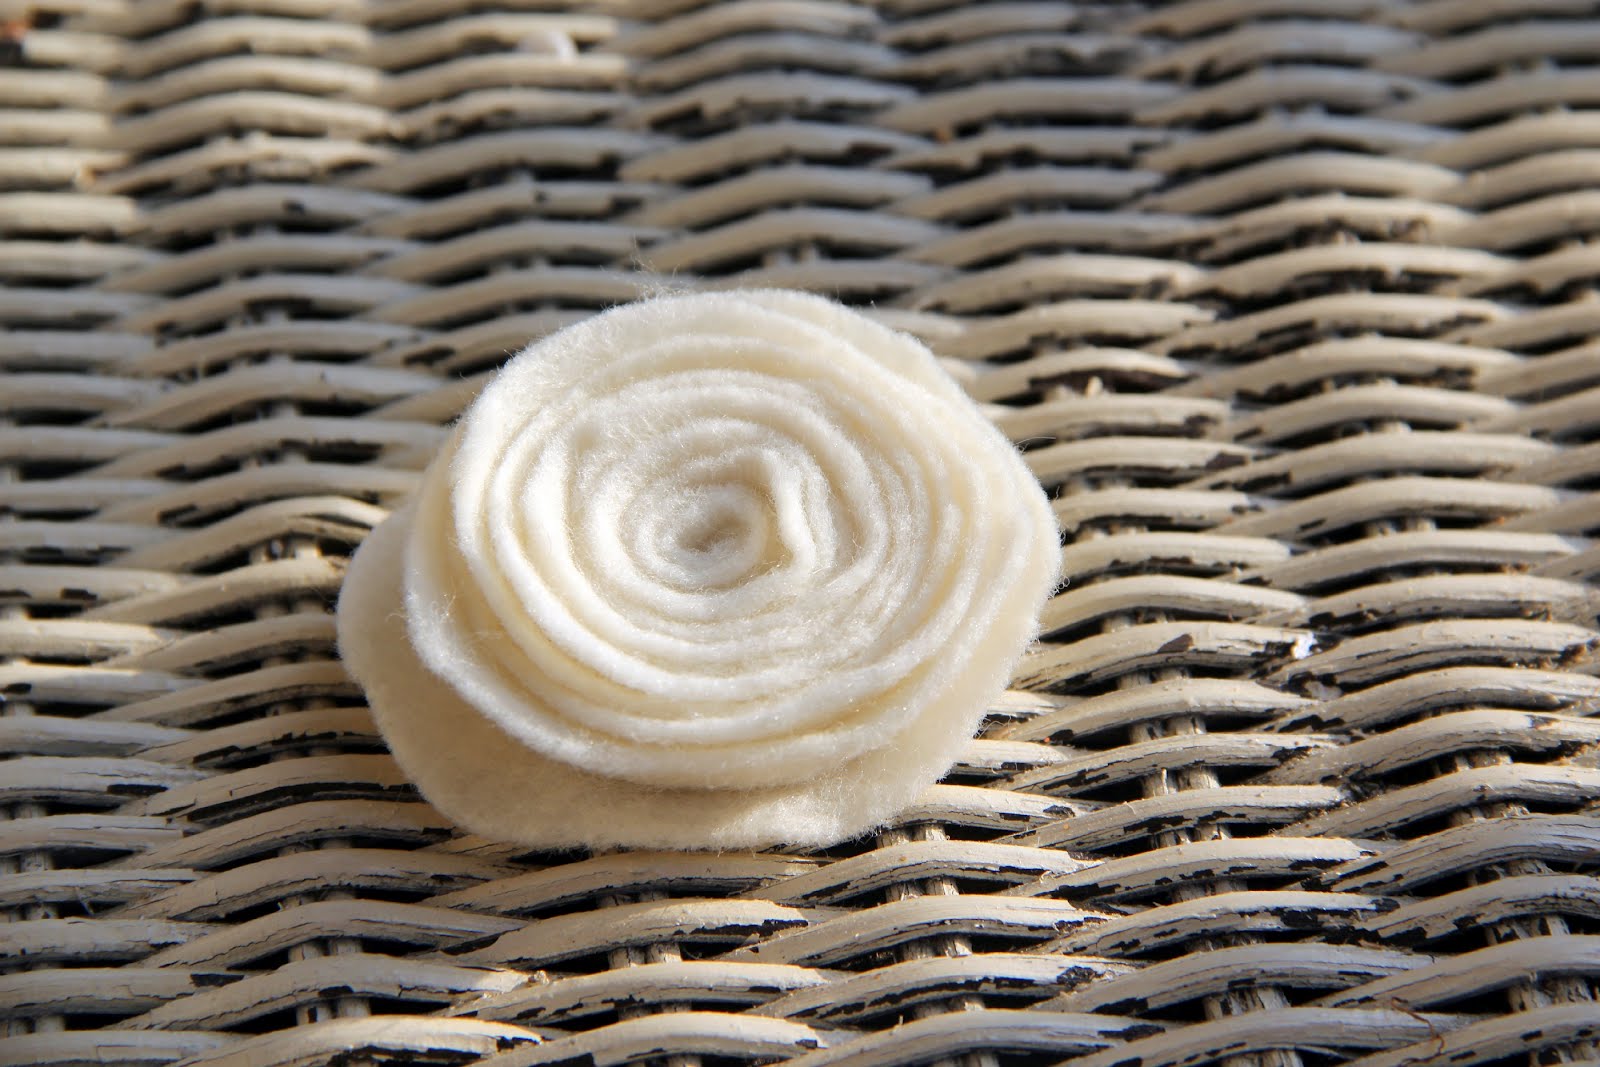
Start by tying a knot around the wreath. This will be your starting point. Add a dab of hot glue to hold it in place. It's best to wrap the yarn in sections using about 4-5 feet of yarn at a time. Any longer and it may get tangled and keeping it attached to the ball of yarn wasn't working well for me. How you wrap is completely up to you and your style, but I wrapped and overlapped. There was really no rhyme or reason. After you finish wrapping your yarn, keep it in place with a dot of hot glue then continue on with the next section. Continue on with this until the entire wreath is finished. This took me about 45 minutes to an hour. Again, it'd be super fun to hang out with girlfriends and chit-chat while doing this to make the time pass. Now it's time to make some cute felt flowers. You can use a DVD or CD to trace a cirle on the felt. I just cut a circle the best I could without a stencil. Start cutting the felt into a spiral. When you are almost to the center, leave a cirle about 1-2 inches wide. You'll eventually glue this onto the bottom of the wrapped flower to hold it in place. Starting where you first cut, begin twisting the fabric around itself tightly. You could add a dab of glue here and there, but if you are twisting it tight enough and supporting it with your fingers well you shouldn't need to. Why risk burning yourself with the hot glue gun anymore than you need to??? As you're spiraling your flower, give the fabric an occasional twist to add depth and texture. This is what I did. Or, you could just keep winding it up without any twists and this is what it would look like. It's just a personal preference. When you get to the end of your fabric with the circle, add some hot glue to the circle and press it against the bottom of the flower to hold is all in place. Do this for however many flowers you like. Usually an odd number of flowers look best together. Figure out an arrangement for the flowers on your wreath then hot glue them on. Finally, add a pretty ribbon and hang it on your door! I'm a neutral color girl but I also love pops of color. I chose more neutral colors for my wreath and decided that I could switch out the color of the ribbons for the different holidays and seaons of the year. I think this wreath would look gorgeous with a burnt orange ribbon for the fall. I would LOVE to see your yarn wreath if you end up doing this project. Please visit me over at Mr. and Mrs. Pear and if you like what you see, follow me. I'd love to have you tag along with me!

Thursday, March 8, 2012

//sponsor spotlight: The Mrs//

Here is one of my new lovely sponsors this month! I'm so glad that Megan emailed me because she's honestly one of the nicest, loveliest bloggers I know! And on top of that, she's drop dead gorgeous!!! :) I can't wait to see her baby!

Hi there!   My name is Megan and I am the voice behind The Mrs. Over at my blog I like to chit chat about random things, but most recently my topics have been pregnancy, faith, and babies!! You see, I'm expecting my first-born in April of this year, and couldn't be more excited! I'm learning to lean on God and my faith in Him through this time as I learn about mother-hood. 
I enjoy crafting & repurposing, too! My husband and I are in the process of creating our custom nursery. My bedding is all handmade by yours truly, and we have a mural up that I painted, too! We cannot wait to get it finished because we have so many fun projects ahead of us. 
One of my features over at The Mrs is my "iBelieve" linky party. Each week I pick a topic concerning my faith and I just write what the Lord tells me. It is a linky party, yes... So come join in on Mondays!
Another feature is my Mommy Thoughts Thursday. On Thursdays I ask questions. Lots of questions about baby stuffs and mommy stuffs. This has been a great resource for me, and once baby girl is born, I will revisit them and share my experiences!  I recently opened a shop, too! In my shop you will find an array of creations! My sister is a photographer, and she is always looking for fun new props for me to make her! I'm also inspired by things that are natural & and vintage, but love the bright colors of life as well. Be sure to check it out! I don't do it for the money, I do it because I love to create, so my prices are reasonable!
If you ever have any questions feel free to contact me!
Follow along with me on my journey:

Monday, January 30, 2012

Guest Post TUTORIAL: Crafty Cousins

Today I have a ton of lovely Valentines day tutorials for you! Nat and Ash are two sweet cousins who love to craft! Here they are:

First of all, let me introduce myself. My cousin Nat and I have a blog called “Crafty Cousins”. We both have private family blogs that we’ve had for years. Recently, we realized we were cluttering up our blogs with pictures of our projects instead of our cute little munchkins. We decided to join forces and start a new craft blog where we can put our projects on, and have an outlet from crazy motherhood! You can read more about us here. Thanks Alyssa for having me over today!
Being the mom of 2 little girls, who both think princess dresses and tutus are perfectly fine to wear EVERYWHERE, everyday….Valentine’s is their kind of holiday! Pink, pretty, flowers, hearts, sparklies, what more could a little girl (or a big girl) want!? We had fun the last week crafting a few decorations, and they loved showing their daddy what they’ve been making with mommy! Now, I apologize in advance. I’ve seen Alyssa’s pictures, and mine are no where near as good, so please bear with this learning rookie!
First off, we bought a flower making wreath at Hobby Lobby. I bought one that was 16 inches, but if I were doing this project again, I’d go smaller (it’d look fuller with the same amount of hearts…).
Valentine's Decor (3)
I put extra wire in the middle, like a bike spoke, so I’d have more places to hang hearts. If I had my spray paint, I probably would have sprayed the wire wreath at this point…Silver, white, red, or pink maybe.
Valentine Craft (5)
Then, I had my girlies come help. Don’t mind the picture, it’s actually the best of them out of 5. They just can’t hold still!
Valentine's Decor (2)
We used my mom’s Sizzix, and cut out LOTS of hearts!
Valentine's Decor (4)
Since I didn’t have any double-sided scrapbook paper, I glued a few pieces together before cutting out the hearts.
Valentine's Decor (5)
Valentine's Decor (7)
Next, we took some glitter glue and decorated the hearts
Valentine's Decor (10)
Valentine's Decor (11)
By this time, their attention was spent, so we went on to other things and decided to come back later, when the hearts were dry.
After they had dried, we came back to the hearts and poked holes with a needle
Valentine Mobile (6)
and threaded fishing line through the holes.
Valentine Mobile (4)
and then tied them onto the wire wreath,
Valentine Mobile (3)
all over, in different lengths.
Valentine Mobile (11)
Let’s be honest, the kiddos weren’t helping by this time. One was napping and the other was watching Mickey’s Clubhouse.
Valentine Mobile (10)
After it’s full of hearts, hang it up!
Valentine Mobile (14)
Just for reference sake, I used 48 hearts, half bigger, half smaller….
Valentine Mobile (16)
Valentine Mobile (15)
In front of a window…
Valentine Mobile (13)
Valentine Mobile (17)
By the way, if this looks familiar, I was inspired by Pottery Barn’s Valentine Chandelier:
So what did I do with the rest of the hearts?
Valentine's Decor (8)
While at the Hobby Lobby, I checked out their clearance Christmas things, and they had these trees. Red and white. For $4.
Valentine's Decor (1)
I bought it to decorate for Valentine’s in my girl’s room, and maybe spray paint white for Christmas! So we made a bunch of paper ornaments (read: free so doesn’t matter if they get broken by said girls)
Valentine's Decor (6)
We decorated the tree, and I imagine we’ll be making more ornaments and additions to the tree until V-day…
Valentine Tree (1)
Valentine Tree (2)
This heart is made out of red hot candies glued onto a cardboard heart.
Valentine Tree (5)
Valentine Tree (6)
Valentine Tree (9)
That’s the dollhouse I did for my daughter for Christmas in the background.
Valentine Tree (8)
They like looking at it, and I imagine we’ll make it even more girly with feather boas, lights, and sparkly beads!
Finally, what Valentine’s wouldn’t be complete without a wreath? Last Valentine’s, before I knew there was such a thing as craft blogs, I made this heart wreath out of Christmas ornaments (on clearance, of course!) and a hanger shaped into a heart. I know there’s tons of tutorials out there, so if you want to make one, you’ll have to go look for one, because this is the only picture I took! One tip I will give is make sure your ornaments are shatter proof, so they don’t break when they fall off (and they will!), and make sure to use hot glue on the metal hanging part before you loop onto the hanger. That will help them not pop off!
Heart wreath
But, here’s this year’s version of the wreath.
I bought a Dollar store wreath and chopped the edges with an X-acto knife to make it more rounded shape.
Valentine Craft (7)
I had seen some candies displayed in a glass vase, and decided that needed to go on a wreath.
Valentine Craft (9)
If you don’t want to make the wreath, Good & Plenty’s are the perfect Valentine colored candy to go on your mantel in a pretty jar too! My original idea was to make a design like this….
Valentine Craft (10)
Are you pondering what I’m pondering? I think so, Brain, but if a ham can operate a radio, why can’t a pig set a VCR?
Chevron. But because of gluing issues and the type of wreath, I just went with gluing them on. I didn’t start right, so they’re not exactly straight, but if you do this, you may want to draw a line for the first one to make sure it’s straight. This wreath used up 3 boxes of Good & Plenty’s, so make sure you have enough for your wreath size!
I had some light pink spray paint, so I sprayed the foam wreath, just so that not-so-awesome green wouldn’t show through in gaps. You can wrap it with ribbon if you have it too. Then, just start gluing! Pretty straight forward, so here’s the finished product!
Valentine Wreath (4)
Hung with a loop of ribbon over our door…
Valentine Wreath (5)
Valentine Wreath (3)
Valentine Wreath (1)
Valentine Wreath (2) copy
There were quite a bit more pinks than whites, so I used my leftovers and hot glued them to a 1 1/2” Styrofoam ball. I was going to use it as an ornament on our tree, but it’s HEAVY!
Valentine Pom Pom (1)
Valentine Pom Pom (3)
Maybe just set in on a candlestick, or do a group of them for your mantel!
Thanks for having me Alyssa! I had lots of fun making these Valentine crafts and hope you do too!