Hi everyone! I'm super excited to be guest posting at Live.Love.Craft. This is my first guest post so I feel really honored that Alyssa asked me! Here's a little bit about myself. I've been blogging for a few years now mainly to keep in touch with family and friends, but just recently started up this DIY/recipes blog. I love crafting, creating, sewing (check out my Etsy shop, The Turquoise Pear), and cooking so this is the perfect outlet for me where I want to inspire and be inspired. I live in Chicago with my husband but I'm a southern girl at heart (born and raised). I'm a third grade teacher and I love what I do. All right, enough about me. Onto the good stuff! Today I will be showing you how to make a yarn wreath with felt flowers. This is a super easy project, that I recommend doing with some girlfriends, putting on a chick-flick and making a fun night of it. I myself enjoyed sitting outside in the 70 degree sunshine. A rare treat for March in Chicago.
 Here's what you'll need:
1 wreath (mine has an 8" diameter)*
1 ball of yarn (You'll use about half)
1/4 yd felt in the color(s) of your choice (1/4 yard should get you about 8-12 flowers)
hot glue gun/sticks
*I originally made the wreath using an idea I had seen on Pinterest where you buy gray pipe insulation from Home Depot and duct tape it to make a DIY wreath. It didn't work. At least not for me. The wreath began to droop and I was slightly annoyed. Just buy a wreath from a craft store. It's only about $3-$5 more at Joann's or Michael's.
Here's what you'll need:
1 wreath (mine has an 8" diameter)*
1 ball of yarn (You'll use about half)
1/4 yd felt in the color(s) of your choice (1/4 yard should get you about 8-12 flowers)
hot glue gun/sticks
*I originally made the wreath using an idea I had seen on Pinterest where you buy gray pipe insulation from Home Depot and duct tape it to make a DIY wreath. It didn't work. At least not for me. The wreath began to droop and I was slightly annoyed. Just buy a wreath from a craft store. It's only about $3-$5 more at Joann's or Michael's.
The How-To:
Start by tying a knot around the wreath. This will be your starting point. Add a dab of hot glue to hold it in place.
 It's best to wrap the yarn in sections using about 4-5 feet of yarn at a time. Any longer and it may get tangled and keeping it attached to the ball of yarn wasn't working well for me. How you wrap is completely up to you and your style, but I wrapped and overlapped. There was really no rhyme or reason.
 After you finish wrapping your yarn, keep it in place with a dot of hot glue then continue on with the next section. Continue on with this until the entire wreath is finished. This took me about 45 minutes to an hour. Again, it'd be super fun to hang out with girlfriends and chit-chat while doing this to make the time pass.
 Now it's time to make some cute felt flowers. You can use a DVD or CD to trace a cirle on the felt. I just cut a circle the best I could without a stencil.
 Start cutting the felt into a spiral. When you are almost to the center, leave a cirle about 1-2 inches wide. You'll eventually glue this onto the bottom of the wrapped flower to hold it in place.
 Starting where you first cut, begin twisting the fabric around itself tightly. You could add a dab of glue here and there, but if you are twisting it tight enough and supporting it with your fingers well you shouldn't need to. Why risk burning yourself with the hot glue gun anymore than you need to???
 As you're spiraling your flower, give the fabric an occasional twist to add depth and texture. This is what I did.
 Or, you could just keep winding it up without any twists and this is what it would look like. It's just a personal preference.
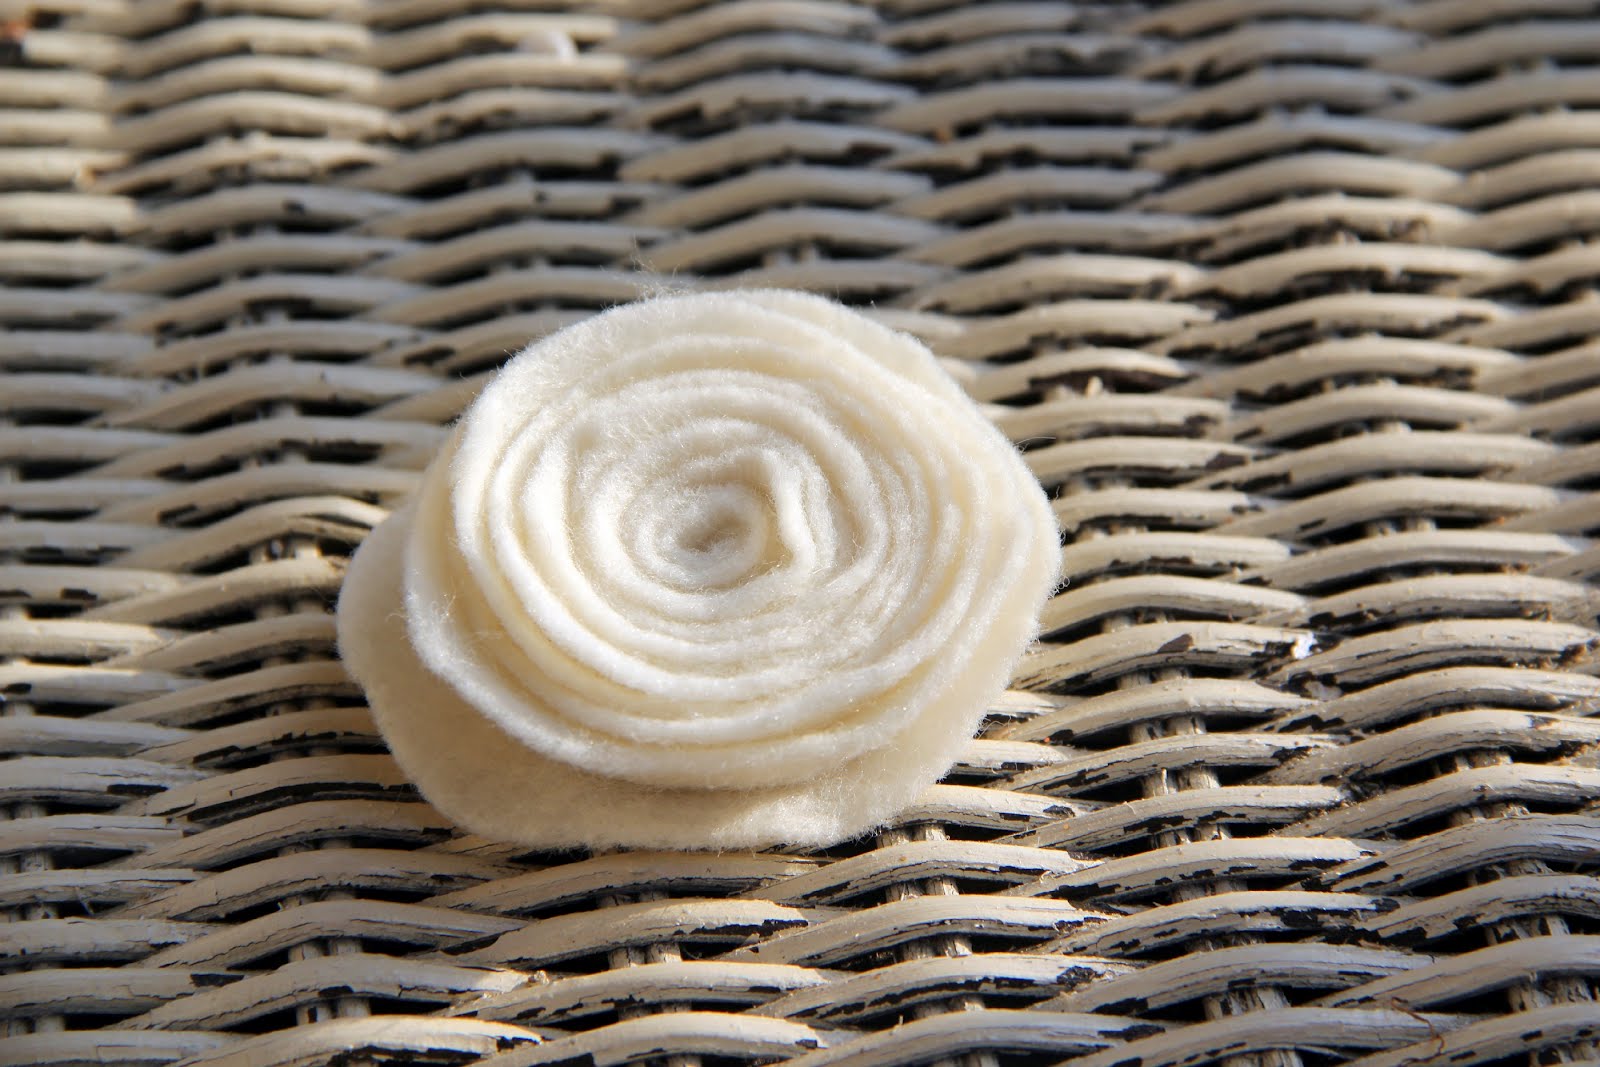 When you get to the end of your fabric with the circle, add some hot glue to the circle and press it against the bottom of the flower to hold is all in place.
 Do this for however many flowers you like. Usually an odd number of flowers look best together. Figure out an arrangement for the flowers on your wreath then hot glue them on. Finally, add a pretty ribbon and hang it on your door!


 I'm a neutral color girl but I also love pops of color. I chose more neutral colors for my wreath and decided that I could switch out the color of the ribbons for the different holidays and seaons of the year. I think this wreath would look gorgeous with a burnt orange ribbon for the fall.
I would LOVE to see your yarn wreath if you end up doing this project. Please visit me over at Mr. and Mrs. Pear and if you like what you see, follow me. I'd love to have you tag along with me!
I'm a neutral color girl but I also love pops of color. I chose more neutral colors for my wreath and decided that I could switch out the color of the ribbons for the different holidays and seaons of the year. I think this wreath would look gorgeous with a burnt orange ribbon for the fall.
I would LOVE to see your yarn wreath if you end up doing this project. Please visit me over at Mr. and Mrs. Pear and if you like what you see, follow me. I'd love to have you tag along with me!