
Hi! Today I'm going to show you how to make a paint chip wreath.
First off you're going to need the stuff to make it (duhh), so this is what you need:

Paint chips (I love Martha Stewart's colors, but her paint chips are too thick for this project, I reccomend Behr's paint chips. :)
Cardboard or flat wreath form
hole puncher (I used this one I bought at Joann's for 7$ 40% off)
Glue gun
Xacto knife.
Trace two items on your cardboard and cut it out:

Punch all of your paint chips into holes:

I like Behr's paint chips the most for a few reasons, especially because it looks like your taking less paint chips than you are because they are so long. You can also get 9 holes out of them, and the others (glidden, and Martha) You can get max. 6.

Now fold each of your paint chip into quarters:


^ I can't really explain this step, so just follow the picture :)

(front of the "flowers")

(bottom side)

Just add a blob of glue on the bottom of the paintchip, then place it like so.

Keep glueing! I did 3 layers because that's what fit my wreath form.

Once you have finished glueing all of the paint chips on the wreath, get out some ribbon or cloth. I used an old pillowcase. Cut a strip out so it fits like this:

Glue the two ends together. Make a bow out of the same fabric. Glue it over the ends. Make a little loop of cloth and glue it on the back:

Hang it up and admire!

TIP: if your bow doesn't stay up where you want it, use clear tape to hold it up.
I have a bunch more projects coming using these "flowers", so come back later and look for more! Thanks for reading! Let me know in the comments section if you liked this tutorial! :D


 Paint chips (I love Martha Stewart's colors, but her paint chips are too thick for this project, I reccomend Behr's paint chips. :)


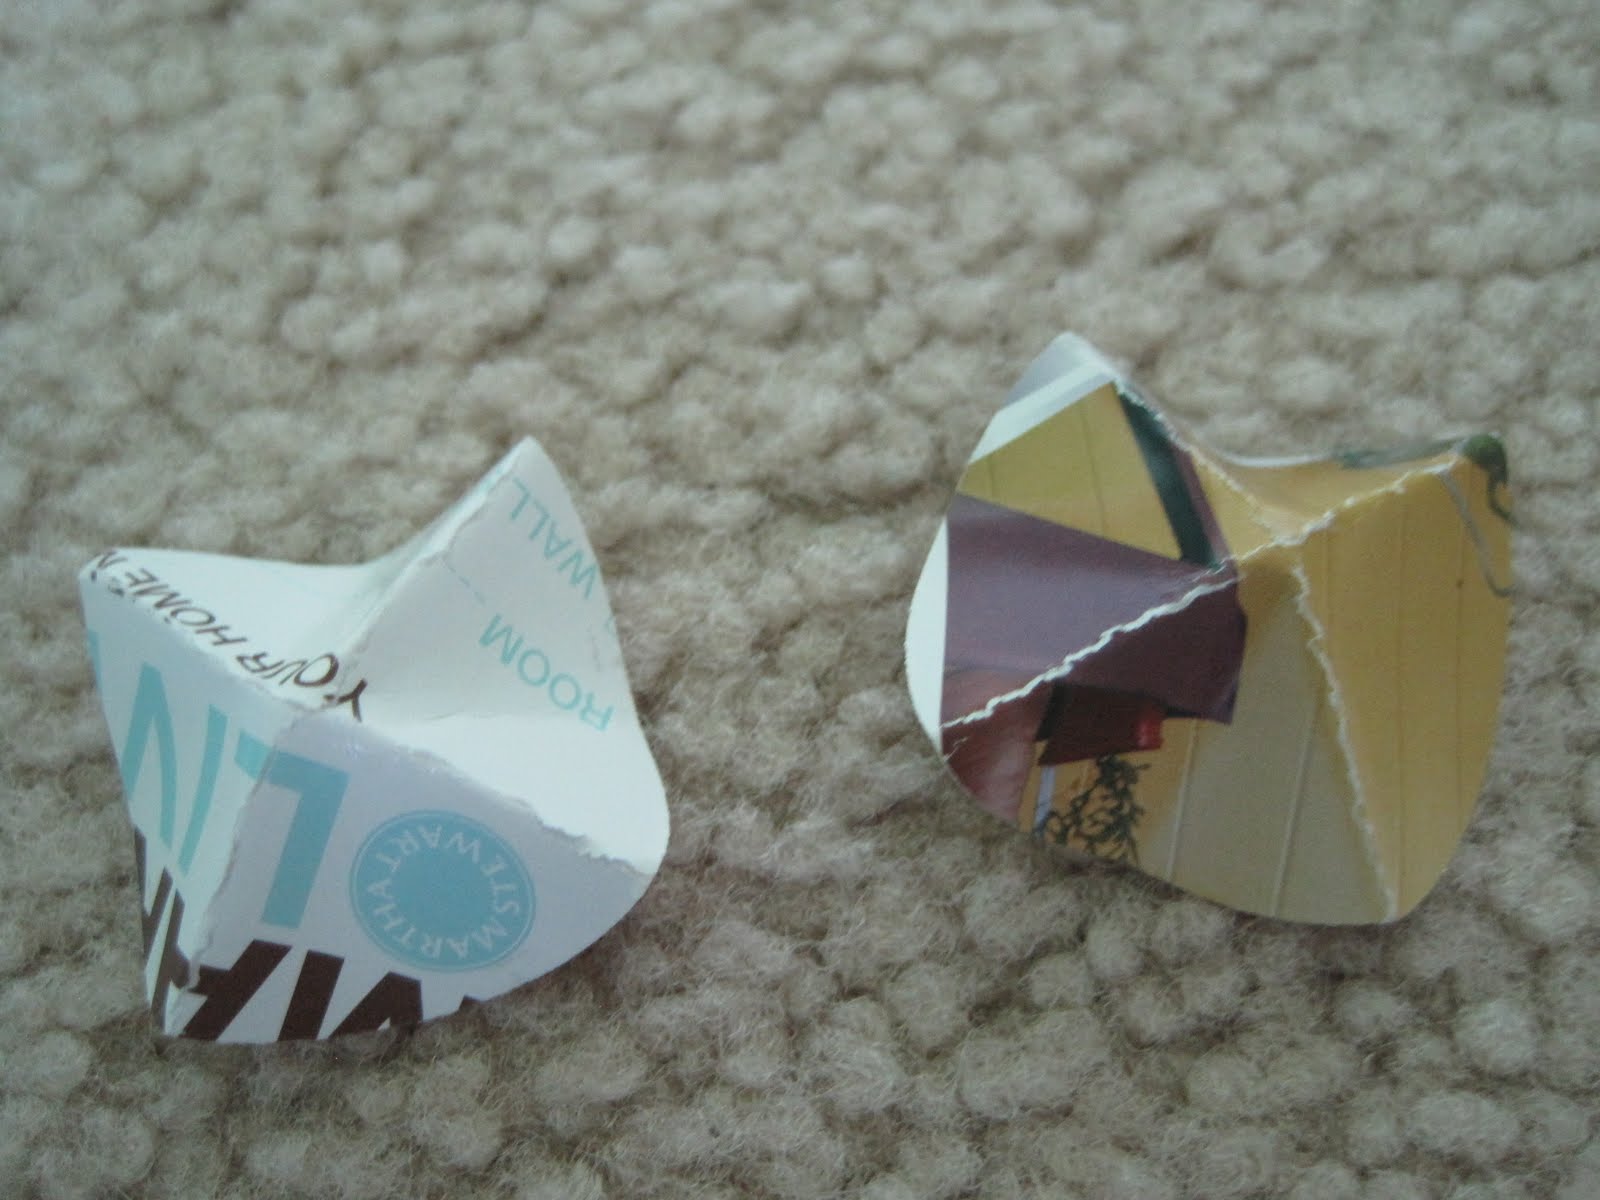 (bottom side)
 Keep glueing! I did 3 layers because that's what fit my wreath form.
 Once you have finished glueing all of the paint chips on the wreath, get out some ribbon or cloth. I used an old pillowcase. Cut a strip out so it fits like this:
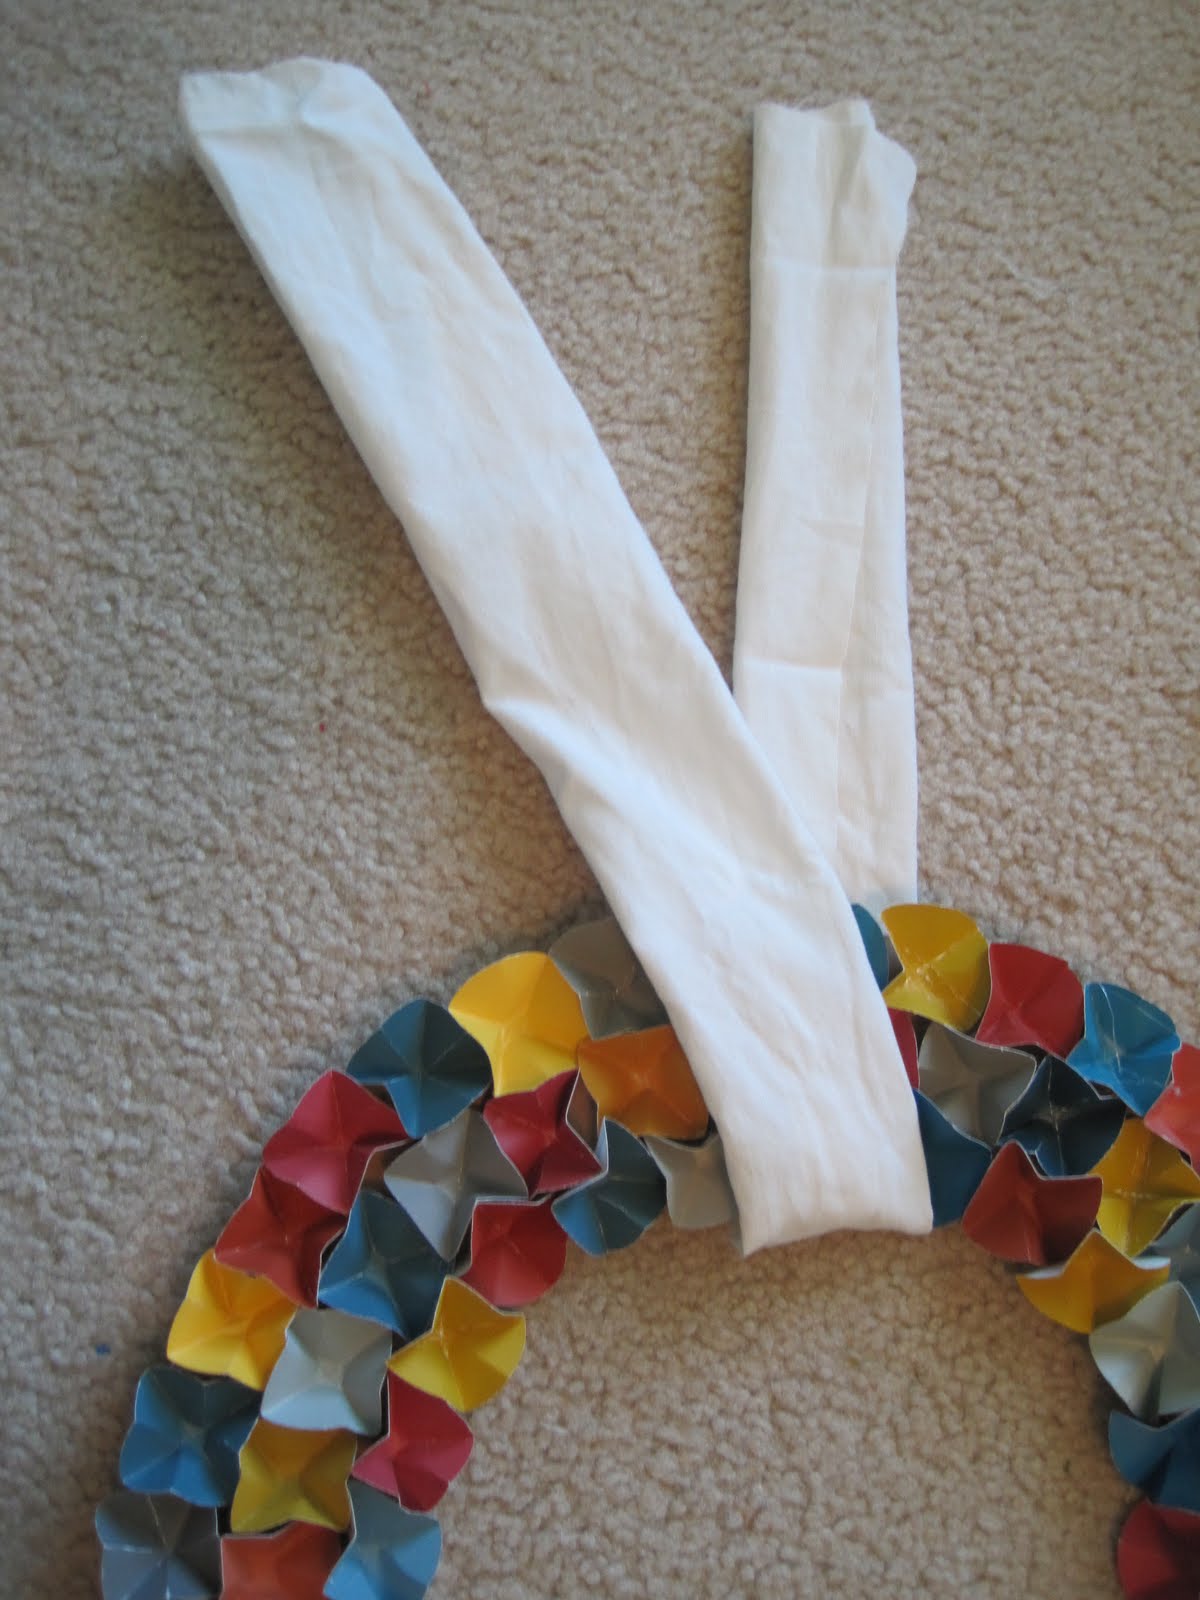 Glue the two ends together. Make a bow out of the same fabric. Glue it over the ends. Make a little loop of cloth and glue it on the back:


