Showing posts with label hair accessories. Show all posts

Monday, January 16, 2012

Sponsor: Pleats & Pintucks

It's kind of a funny story... you know how i don't tell anyone about my blog right? I don't. My bestest best friend who's crafty too knows about it and her parents. that's about it. My parents told some of my aunts and uncles and stuff but for the most part i don't like people i know in real life reading my blog. I don't have a real reason but idk it's just my thing :) Anyways i got an email one day from a lovely old friend i haven't seen much in the past few years, apparently she found my blog and loves it and is starting a new one. What a coincidence, right? She was looking up DIY flower hair clips and found one of my tutorials!!! Anyways, it was great to be talking to each other again and she's now one of my sponsors! Without further adeu, here's my bestie Caroline:

So, hi. :) My name’s Caroline and I blog over at Pleats and Pintucks. I actually just started the blog (and I do have to say that although I had created my blog already, when I discovered Alyssa’s blog, I just had to start posting. Because she’s just that awesome and she so inspired me. Don’t y’all just love her?? I’m so blessed to know her personally! :) and I’ve only got like eleven posts or something. And four followers. But still, I really like it. :) I think I should stop doing smiley faces now and really say something.
I’m fifteen years old and Catholic and homeschooled. I like to diy and sew (anything that’s cute). And I spend waaay too much time reading other people’s blogs or surfing for cool projects. I loved 2011 mainly because I finally lived a dream…I went to France. Paris was, truly, people, all it’s cracked up to be. You can read a little about it here. My post is the first one. The blog was created as a one-time thing, so I don’t expect to be posting anything else. But anyhoo. Back to craftiness. I really enjoy creating bags…I think that’s pretty much the main thing I make…because I just can’t get enough. Like shoes, you know? Love accessories. I also like making clothes…
I’d love for you to follow my blog and thanks for reading this little blurb!
Thanks to Alyssa too for the best crafty blog out there and for letting little ol’ me be a sponsor! 
--
I’ve decided to share a crazy-easy tutorial with you for a headband. It’s really not even considered a tutorial in my book, but it does show I’m kind of crafty (heh.heh.), right?
1. Find (or buy) a comfortable headband.
2. Get out the glue gun and buy (or find) some trim or ribbon.

3. Starting at one end, put a dot of glue on the back of the headband and put the edge of the trim on to seal it off (ya know what I mean?).

4. Working in sections, put glue on the outside of the headband (where you want the trim) and wrap the trim around, making sure to stick it to the glue.
5. Finish the last edge the same way you started (again, you’ll know what I mean).
 6. Put on! And don’t take silly pictures of yourself, like I did.


And, because I love you, here’s some pictures of other headbands I’ve diyed:
I glued on a sparkly flower pin here…

And did the white trim again, this time with a bow, here..

And this is one of my favorites – black velvet with a bow

And a gold glitter headband. ;)

So yeah, go out there and make (literally!) instant-gratification crafts! And visit my blog while you’re at it, because I’d love to check out yours!

Go check out her new blog, Pleats & Pintucks, and follow along! I know she'll have a ton of great tutorials and such some day soon :) She also has a in-the-works shop for her hand-sewn purses, clutches, and more! Go to her blog to check it out! 

xoxo
Alyssa 

Tuesday, December 20, 2011

Guest Post: Melly Sews Headband Tutorial!

Today we have the wonderful Melissa from Melly Sews here with a tutorial on an adorable headband! The headband can be made in any size and looks super easy! Here's Melissa:

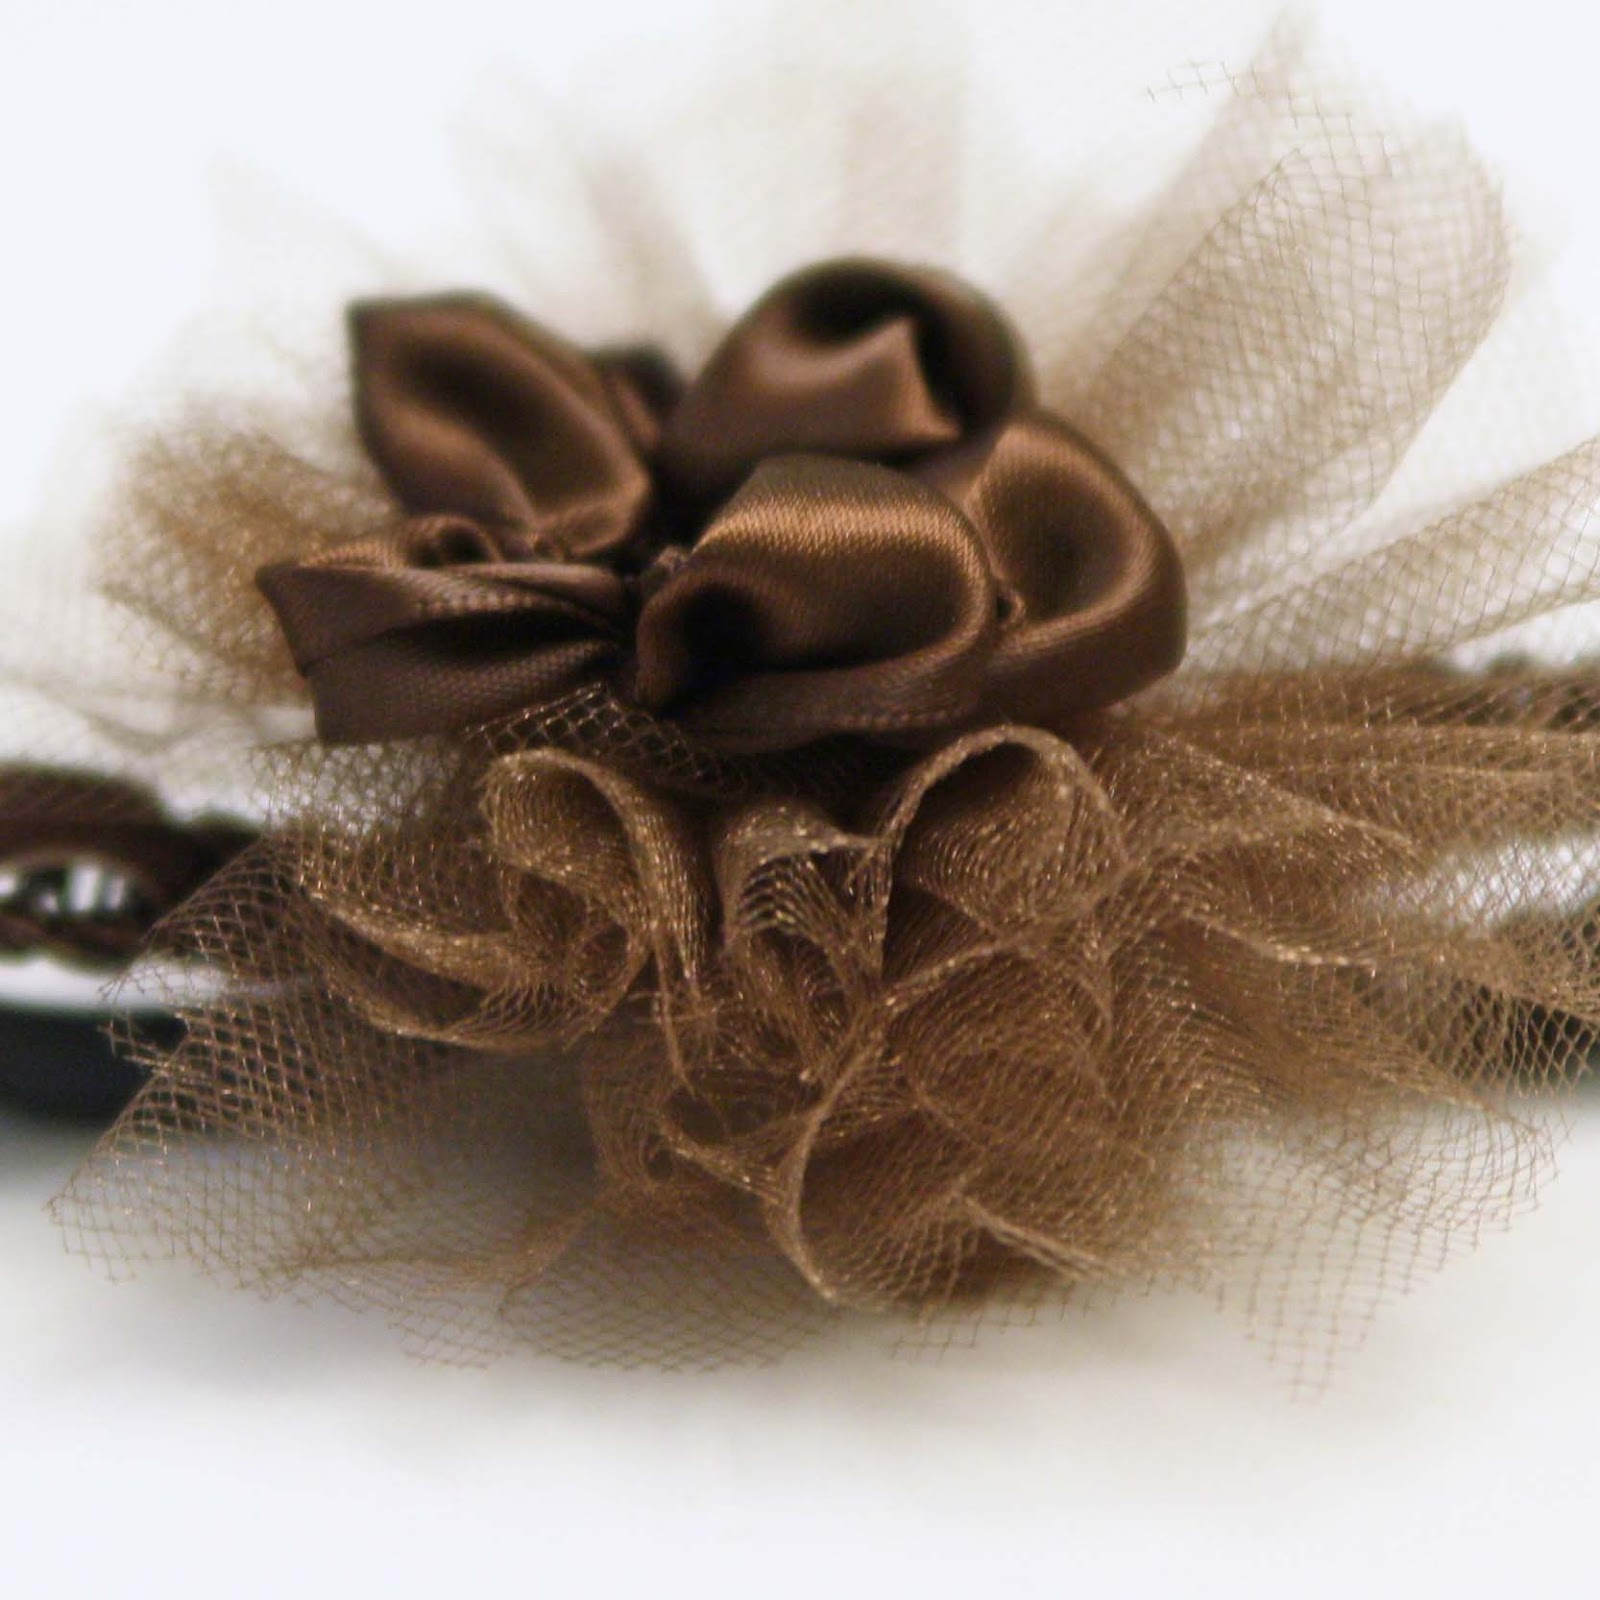
Today I made this headband
from the scraps left over after I made my Tulle Ruffle Skirt
and some 2 inch brown satin ribbon.
I had an 11" left over piece of the velvet ribbon, and about 40 inches of 3 inch wide tulle. Here's what I did. First, I sewed black elastic to each end of the velvet ribbon with a satin applique stitch (basically the widest zig-zag and the shortest stitch length on my machine).
Then I wrapped the tulle around a 3 inch piece of cardboard
I slid the tulle off the cardboard, and wrapped thread very tightly around the center.
I cut through the loops at the ends, and that made the pom-pom pouf part of the headband
I sewed this pouf onto the headband with a few stitches. Next, I made the flower. To do this, sew gathering stitches across the bottom of the ribbon
About every 1 1/2 inches, loop the thread over the ribbon, then sew another gathering stitch
Now pull the thread tight - it will start to pull the ribbon into little petal shaped poufs. You'll have to help shape them a little, and it works better for me if I do it after each time I loop the thread over instead of waiting until the end.
After you have 6 little poufs, cut the ribbon but not the thread. Take one of the end poufs into the middle, folding in raw edges, and take the other end and join it to the rest of the petals. Sew a couple of stitches into the middle, to keep that pouf in place.
Sew this flower into the center of the tulle pouf and onto the headband and you're done.
It could be perfect for you, or you might have a little cutie who needs one, like I did!
Isn't it adorable? {and the baby!!!} Thank you so much for guest posting, Melissa!

xoxo,
Alyssa

Saturday, November 5, 2011

Etsy Loves...

This is the first time I've ever posted about stuff I love on etsy...! Wow, how have I never done this before?! If somehow you don't know what etsy is: etsy is an online handmade marketplace. meaning you can sell anything handmade or vintage. :) it's pretty awesome! So here are just a few lovelies for you today :)

Source: etsy.com via Sarah on Pinterest
Source: etsy.com via Laura on Pinterest
Source: etsy.com via Beth on Pinterest
Source: etsy.com via Pamela on Pinterest
Source: etsy.com via Sophia on Pinterest
Source: etsy.com via Molly on Pinterest

Thanks for reading and I have a few pretty awesome tutorials coming up... be patient :) my life is so busy. it really is. wanna see my average day? Well here's today for ya'! {I'm writing this post a day ahead...}

Wake up - Get ready & eat and stuff - go to Harvesters to volunteer {harvesters is a food distributing place for homeless people. they take in donations from stores, we sort them, they distribute them to the homeless people. it feels good to help out!}- change and then go to volleyball tryouts - change again and then go babysit until 10:00 - come home and go to bed. 

this is my life. pretty much every day. and I wonder why i have no epic blog posts or tutorials... oh yeah, I have no time to make them! lol :)

love you all! inching closer to my big 200 every day, just need a few more lovely followers!

Photobucket

Friday, September 2, 2011

TUTORIAL - Pleated Headband

 *I made this a while back... It was used for a guest post on Peace Love and Crafts.*

 pleated headband for 25 cents using old scraps!

Supplies:
Hot glue gun
Scissors
Old tee or fabric
Headband (I buy mine at the dollar store.)
Felt scrap
Yarn

1. Cut a rectangle out of your shirt (or whatever fabric you are using.)
2. Fold one of the short ends over and pin.
3. and 4. Make a pleat

5. Continue making pleats all the way down pinning each pleat. Make sure they are all the same size!
6. Once you reach about 3.5 inches, fold the end under and pin
7. Draw out a shape on paper and cut it out

8. Pin template down.
9. Trace around it with chalk.
10. Sew along your lines.
11. Get your hot glue gun heatin’ up and get out your headband, yarn, and felt.

12. Glue yarn around your headband making sure to cover the whole thing.
13. Glue pleated piece on.
14. Glue some felt on the back to secure and you’re good to go!

Now you can wear your headband proudly, and when someone asks where you got it, you can say proudly, “I made it!”


Thanks for reading guys! Life's been busy, so I can only post every other day right now. Hopefully I'll be back to every day soon!

Alyssa

Thursday, September 1, 2011

September's Sponsors!

Hey guys! This month we have 3 great new etsy shops as sponsors! Can I get a *woot* ? {it's my new word... get used to it.} I'm so excited to introduce them to you! you'll get to read more about them later this month. :)


Have fun looking through their shops :) They all have such great stuff! Like I said earlier, they will all have their own post of awesomeness later this month!

If you're interested in becoming a sponsor for the month of October.. shoot me an email and I'll send you the details :)

Thanks guys for reading! I love you all!

Alyssa


Tuesday, July 26, 2011

(semi) TUTORIAL-Mum Clip V3

Hey guys! I'm back with another version of the mum clip! This one uses that faux satin stuff though. :D The tutorial doesn't show all of the steps.. but I figured you were getting used to how I do it by now! If not check out V1 and V2. Actually you may just want to check them out anyways!

cut out shapes and glue into 'petals' (not shown)
add first layer of large petals onto felt circle.
repeat over first layer's cracks with small petals.
roll up the last small petal and glue it in the middle. Glue center to surrounding petals.
{sorry it's sideways... IDK why!}


I'm going to have to stop posting every day now, because our school starts next week and we're cleaning and preparing to start {UGH!} But hopefully I'll be back to normal soon!
Photobucket

Sunday, July 17, 2011

TUTORIAL - mum clip V2

I have a few different versions of the original mum clip, I like them all so much I'm going to try to give a tutorial for each of them. Today you get The Mum Clip V2. :D
The supplies are basically the same as last time:
  1. Old tee shirt scraps {or any fabric}
  2. Some Lace {I used an old curtain}
  3. Template {you have to make it yourself. Or you can try to find some clip art to use as a template.}
  4. Sharpie
  5. Hot glue gun and sticks
  6. Small circle of felt.
  7. Hair Clip {or brooch.. whatever you want.}
  8. CREATIVITY. You don't have to follow my exact directions. Do what you want, make it your own.
First get your template and trace it onto your fabrics. You will need 9 of each fabric.

{piles of 9 'flowers')

Glue 8 of the 'flowers' into 'petals' like last time. Cut a circle of felt.
Glue 4 'petals' onto the felt circle like so:
Glue the next four over the 'cracks'. 
{does that make sense?} 
Create a center by rolling up one of the 'petals'. Cut off the tip and glue in the middle. Now glue the tops of the last layer of petals to the center.
You're done! now you can glue it to a pin or hair clip or even a magnet. Just have fun with it. You could sew it together too. I think that actually works better and It's less stiff if you sew it, but gluing is easier. :D Try making a Huge on and sewing it to a pillow, or a miniature one for earrings! The possibilities are endless!
I'll be back with more tutorials soon! thanks for reading, and let me know if you make one!


{if you really like this you'll follow me *wink wink*}

Photobucket