Showing posts with label tutorial. Show all posts

Friday, July 20, 2012

TUTORIAL: Pokemon Nails


I grew up with one older brother. He was my biggest influence and my best friend ... I wanted to do everything he did and I lived most of my childhood being a big tomboy.  We watched power rangers, monster trucks, scooby doo and pokemon. We climbed trees, built forts, played some intense pillow fights and everything like that. Dang I miss those days... haha! But Pokemon was huge with us. We both bought decks of cards and played pretty hard core :) And I will admit that a year and a half ago we got back into it and we went out and bought new decks and played every spare second for about a month until i was creaming him and he tried making the rules change for him (he always has done that) and I got mad and then we quit.

Anyways... moral of the story... I miss my brother. Okay no it's actually that I decided to make pokemon nails but I just realized how good of a life I have. Who knew God could work through something silly like this and make me appreciate life more? :)

ANYWAYS... enough with my ADD!! I made pokemon nails. And I want to show you how you can, too. So here we go, you ready?

You need: Red, black, white, base and top coat nail polish. tape.

1. the usual. Fix up the nails and base coat... you know the drill!
 

2. Get black. Paint a stripe down the middle of your nails like so:

3. Wait for that to dry. Cut some painters tape (that's what I prefer to use... I think any kind will work!) in a small strip and put it on top right down the middle of the black.

4. Paint white on the bottom and red on the top.  Let it dry and do a second coat if needed and immediately peel the tape off after your last coat.


 5. Paint a black circle in the middle of each nail. Let it dry and do a smaller white dot in the middle of that.


6. Let it dry and then top coat and you're done!


This was my first try ever, so I'll be trying out a different technique soon and I'll let you know if that one works better.


Thanks for sticking around and I hope you enjoyed it!

Alyssa

Wednesday, March 21, 2012

Guest Post Tutorial: Spring Yarn Wreath


      Hi everyone! I'm super excited to be guest posting at Live.Love.Craft. This is my first guest post so I feel really honored that Alyssa asked me! Here's a little bit about myself. I've been blogging for a few years now mainly to keep in touch with family and friends, but just recently started up this DIY/recipes blog. I love crafting, creating, sewing (check out my Etsy shop, The Turquoise Pear), and cooking so this is the perfect outlet for me where I want to inspire and be inspired. I live in Chicago with my husband but I'm a southern girl at heart (born and raised). I'm a third grade teacher and I love what I do. All right, enough about me. Onto the good stuff! Today I will be showing you how to make a yarn wreath with felt flowers. This is a super easy project, that I recommend doing with some girlfriends, putting on a chick-flick and making a fun night of it. I myself enjoyed sitting outside in the 70 degree sunshine. A rare treat for March in Chicago.
Here's what you'll need: 1 wreath (mine has an 8" diameter)* 1 ball of yarn (You'll use about half) 1/4 yd felt in the color(s) of your choice (1/4 yard should get you about 8-12 flowers) hot glue gun/sticks *I originally made the wreath using an idea I had seen on Pinterest where you buy gray pipe insulation from Home Depot and duct tape it to make a DIY wreath. It didn't work. At least not for me. The wreath began to droop and I was slightly annoyed. Just buy a wreath from a craft store. It's only about $3-$5 more at Joann's or Michael's.
The How-To:
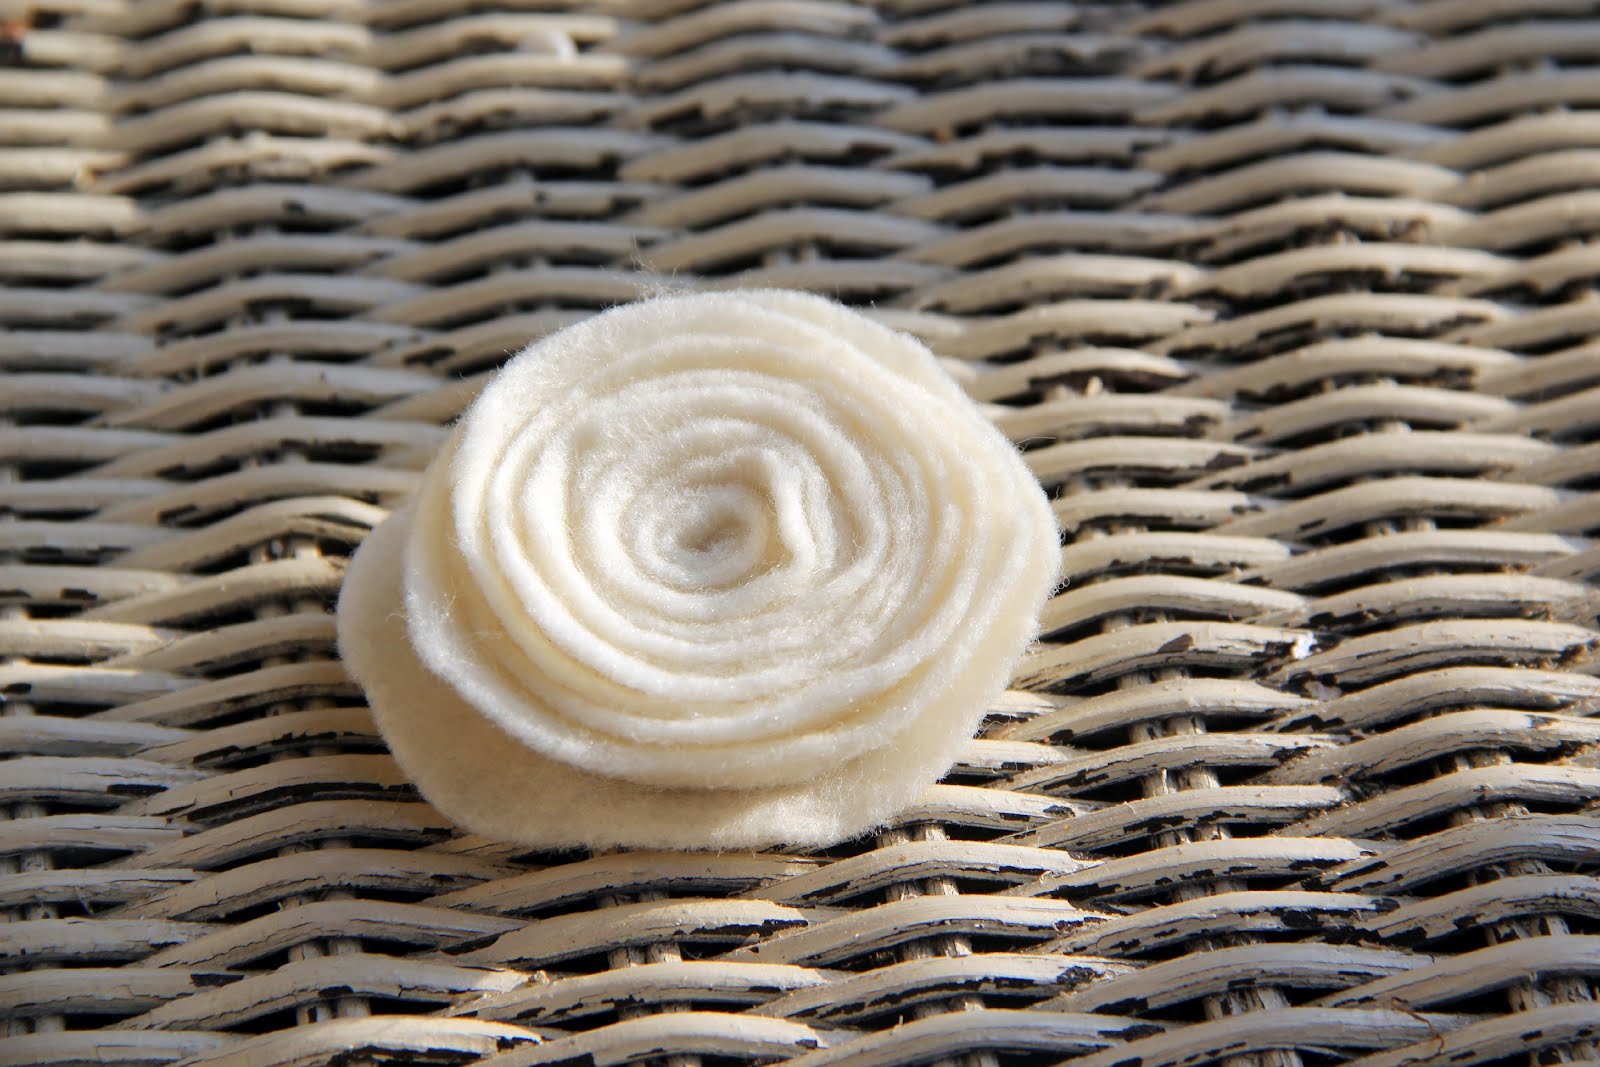
Start by tying a knot around the wreath. This will be your starting point. Add a dab of hot glue to hold it in place. It's best to wrap the yarn in sections using about 4-5 feet of yarn at a time. Any longer and it may get tangled and keeping it attached to the ball of yarn wasn't working well for me. How you wrap is completely up to you and your style, but I wrapped and overlapped. There was really no rhyme or reason. After you finish wrapping your yarn, keep it in place with a dot of hot glue then continue on with the next section. Continue on with this until the entire wreath is finished. This took me about 45 minutes to an hour. Again, it'd be super fun to hang out with girlfriends and chit-chat while doing this to make the time pass. Now it's time to make some cute felt flowers. You can use a DVD or CD to trace a cirle on the felt. I just cut a circle the best I could without a stencil. Start cutting the felt into a spiral. When you are almost to the center, leave a cirle about 1-2 inches wide. You'll eventually glue this onto the bottom of the wrapped flower to hold it in place. Starting where you first cut, begin twisting the fabric around itself tightly. You could add a dab of glue here and there, but if you are twisting it tight enough and supporting it with your fingers well you shouldn't need to. Why risk burning yourself with the hot glue gun anymore than you need to??? As you're spiraling your flower, give the fabric an occasional twist to add depth and texture. This is what I did. Or, you could just keep winding it up without any twists and this is what it would look like. It's just a personal preference. When you get to the end of your fabric with the circle, add some hot glue to the circle and press it against the bottom of the flower to hold is all in place. Do this for however many flowers you like. Usually an odd number of flowers look best together. Figure out an arrangement for the flowers on your wreath then hot glue them on. Finally, add a pretty ribbon and hang it on your door! I'm a neutral color girl but I also love pops of color. I chose more neutral colors for my wreath and decided that I could switch out the color of the ribbons for the different holidays and seaons of the year. I think this wreath would look gorgeous with a burnt orange ribbon for the fall. I would LOVE to see your yarn wreath if you end up doing this project. Please visit me over at Mr. and Mrs. Pear and if you like what you see, follow me. I'd love to have you tag along with me!

Saturday, March 3, 2012

DIY //knock off// green lace earrings tutorial

I can't wait to show you these lovely knock off lace earrings that Vanita from House of Avandan made a tutorial on! Without futher adeau: Vanita--

My name is Vanita and I am a working mother to two wonderful kids and wife to an awesome husband. We have a dog named Boots (and he hates anyone wearing boots) and live in a house full of jewelry, (literally, I have necklaces hanging from curtain rods).

As far back as I can remember I've always been attracted to the pretty things (clothes, flowers, jewelry), but never pursued that direction in college or career. Until one day, I just decided to start making jewelry. I have an etsy store and the jewelry is edgy meets pretty. House of Avandan Store

I am inspired by steam punk, nature, metals, gems, textures, and the glamorous life. My items include handcrafted necklaces, bracelets and earrings. I use a variety of materials from chains, gemstones, beads, and metal.

I started this blog to share my passion for jewelry with the rest of the world. We'll discuss trends, showcase jewelry designers and share jewelry tutorials that you can easily make.

Here is my tutorial on these pretty green lace earrings:


Designer Inspiration
My DIY

Lucifer vir Honestus Carved Imperial Jade Earrings has a price tag of $5700, although I would love a pair of these particular earrings, there would be no way for me to justify that price tag to my husband. And if you know me, when I see something I like, I can find an alternative way to make them. For my DIY earrings, I used white lace fabric, painted it and stabilized it with green fabric.

Materials:
Lace fabric
Green fabric (two pieces glued back to back for sturdiness)
Emerald green paint
Brush
Diamond template
Two gold jump rings
Two gold ear wires
Tacky glue
Fray Check
Sharp pin

Cut out diamond template.

Paint lace fabric with green paint. Let dry completely.

Using tacky glue, glue lace fabric to green fabric.


Trace template onto lace and canvas fabric.

Cut out and use fray check along the edges to prevent threads from fraying.

Pierce small hole for top part of earring.

Attach jump ring and ear wire to top of diamond shape. Repeat step for other earring.

Ta da! All done!

Smother yourself in jewels,
Vanita

Monday, February 27, 2012

//DIY whimsical bubble mobile//

So this was supposed to be a tutorial, but somehow my tutorial pictures disappeared on me :( i'm just going to try to do a word tutorial anyways, so if you'd like to make one you know how :)

And by the way i couldn't even get any full length pictures of it because it's in my closet and i can't get far enough back to get the whole thing in the camera haha!


you will need:
  • a cubby hole in your wall or even just a corner in a room will work
  • varying sizes of clear glass ornaments {amount depends but i used 14}
  • fishing string
  • flat thumbtacks
  • {optional} clear nail polish
random picture of my hair... haha oh and i made this back in december. please forgive me for not posting it sooner!
this picture gives you a better look at how the ornaments are hung.

first you tie one side of the fishing string to the ornament. hold the ornament where you want it to hang and measure and cut the string 2 inches longer than you want. next tie a loose knot and stick the point of the thumbtack in the knot. pull the knot tight and push the thumbtack into the ceiling.

random weird collage of me discovering you can do more than just black and white mode on the 'monotone' setting on my camera


Sorry about the quality of the pictures... it's hard taking pictures of clear things especially with them being very strongly back-lit. and i couldn't even get a full shot of it! :(


hope you enjoyed it!
Alyssa

Saturday, February 25, 2012

//guest post// Retro Table Makeover from ReMadeSimple!

{Welcoming the lovely Kristina of ReMadeSimple! She gave a plain little table a gorgeous makeover! I'm in love. without further adieu --- here she is!}

Pin It

Since the New Year, I've been having fun changing up a few painted furniture pieces in my house, turning a few things lighter from rusty reds and blacks to yellows, whites and pastels.

And, this little side table of mine was bugging me. It looked too dark and boring sitting in the corner of my living room next to a dark brown leather chair. 

So, I decided to give it a lighter, brighter revamp...

I painted the legs a pale gray, and the top the same yellow as my pie safe called "Magnolia"
by Martha Stewart. (Looks a lot like hard boiled egg, but I like it!)
I used eggshell latex paint for this (not on the chalk paint bandwagon...yet).


After the paint was dry, I decided to stencil the tops and sides for a nice pop of "Tangerine Cream" colored paint.
 I used my Nagoya Craft Stencil from Cutting Edge Stencils. 
(I had done stenciling for the first time with this stencil on a market tote bag 
and decided stenciling was fun and not scary!)


After the stencil was dry, I thought the design looked a little too bright how it was, 
so I decided sand down the top and sides with an electric sander using fine sandpaper.


Pin It


Sanding the table did the trick of toning down the orange accents and added that aged look that I love to the table. I love my new brighter table-
I think it adds a fun retro feel to my previously dark corner. 

And I love the combination of stenciling and distressing-will definitely be doing this again sometime!
(And maybe I'll be trying out that chalk paint everyone's raving about too...)

I hope you enjoyed this table revamp and I'd love to see you at ReMadeSimple sometime!


Tuesday, February 21, 2012

//graphic branch earring holder TUTORIAL//

introducing the brand new tutorial by me....
oh yeah. that's right. i finally got around to making you lovely people a tutorial. :) It's my vintage inspired graphic branch/twig earring holder! It's very useful and pretty if i do say so myself!

anyways... no more blabbing... on to the tutorial~

supplies:
  • a dead branch/twigs {make sure they're small enough your earrings fit on them.}
  • acrylic paints in desired colors {you want about 3-5 colors}
  • a paintbrush
  • small yarn/thread. embroidery floss would work.
start with your twig. {i only have my largest one in this picture... i used three but any amount can be used.}

mix your paints and start painting it in bands of differing size. leave spaces between some bands and overlap others.

it's up to you... but i think that leaving some branch showing here and there looks better than completely covering it in paint.

paint all your twigs

 take your string and tie it to the branches keeping them level. remember to leave enough space between them for your earrings to hang.
hang on your wall and put your earrings on it!


{most of these photos are SOOC because i didn't have time to edit them...}


{edited. that's the real color of my wall... haha}


inherited from my mom...

{middle} my FAVORITES from forever 21. i think they were only like $1.50. I wear them ALL THE TIME :)

Let me know what you think!

xoxo,
Alyssa