Showing posts with label sewing. Show all posts

Tuesday, December 20, 2011

Guest Post: Melly Sews Headband Tutorial!

Today we have the wonderful Melissa from Melly Sews here with a tutorial on an adorable headband! The headband can be made in any size and looks super easy! Here's Melissa:

Today I made this headband
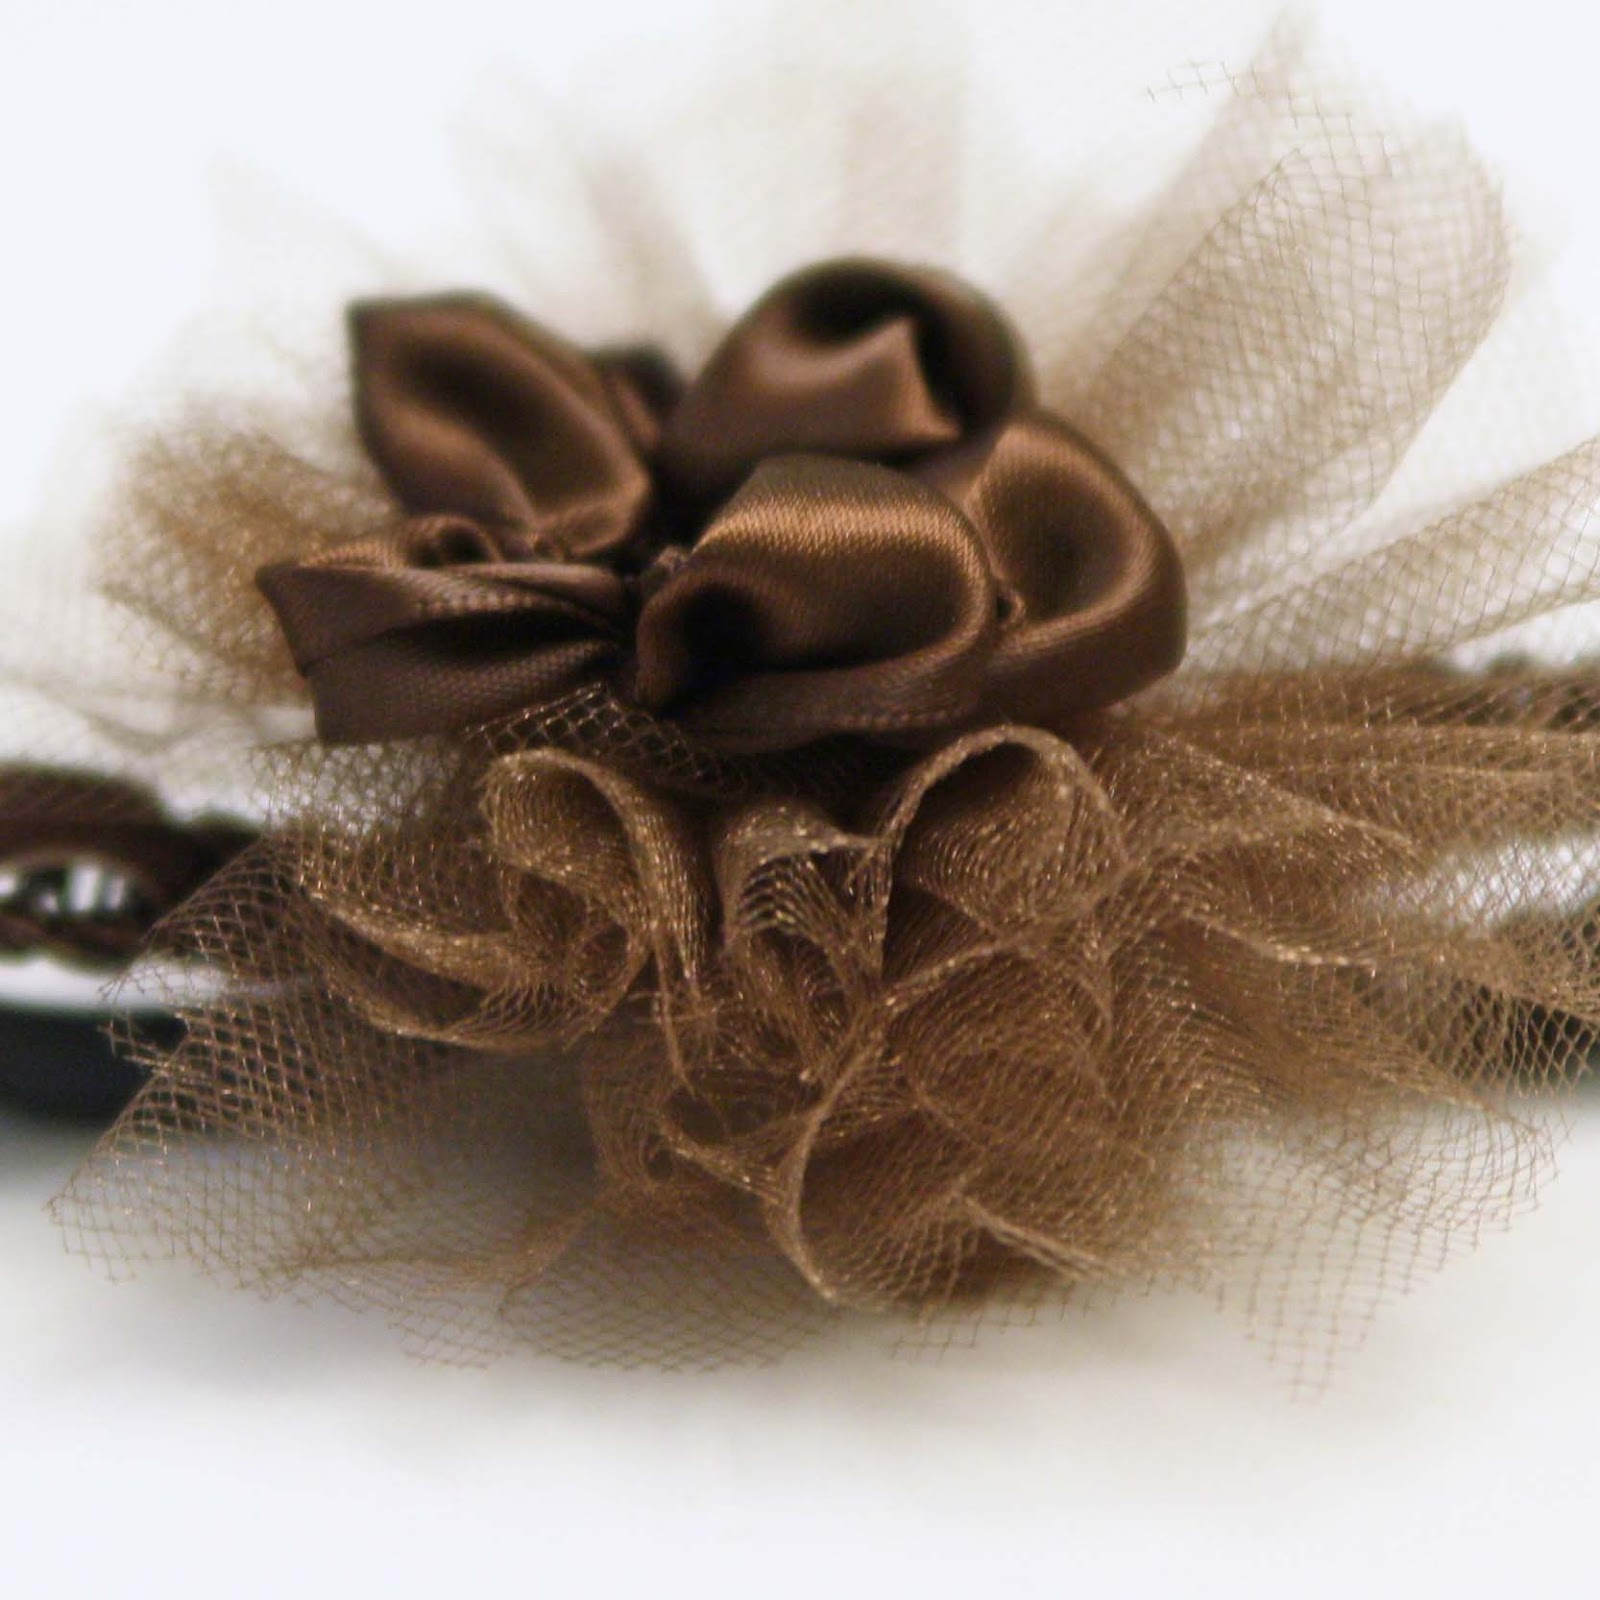
from the scraps left over after I made my Tulle Ruffle Skirt
and some 2 inch brown satin ribbon.
I had an 11" left over piece of the velvet ribbon, and about 40 inches of 3 inch wide tulle. Here's what I did. First, I sewed black elastic to each end of the velvet ribbon with a satin applique stitch (basically the widest zig-zag and the shortest stitch length on my machine).
Then I wrapped the tulle around a 3 inch piece of cardboard
I slid the tulle off the cardboard, and wrapped thread very tightly around the center.
I cut through the loops at the ends, and that made the pom-pom pouf part of the headband
I sewed this pouf onto the headband with a few stitches. Next, I made the flower. To do this, sew gathering stitches across the bottom of the ribbon
About every 1 1/2 inches, loop the thread over the ribbon, then sew another gathering stitch
Now pull the thread tight - it will start to pull the ribbon into little petal shaped poufs. You'll have to help shape them a little, and it works better for me if I do it after each time I loop the thread over instead of waiting until the end.
After you have 6 little poufs, cut the ribbon but not the thread. Take one of the end poufs into the middle, folding in raw edges, and take the other end and join it to the rest of the petals. Sew a couple of stitches into the middle, to keep that pouf in place.
Sew this flower into the center of the tulle pouf and onto the headband and you're done.
It could be perfect for you, or you might have a little cutie who needs one, like I did!
Isn't it adorable? {and the baby!!!} Thank you so much for guest posting, Melissa!

xoxo,
Alyssa

Saturday, November 26, 2011

Guest Post: Two Tone Cardigan Tutorial from Stacie Grissom!

 I was so excited when Stacie emailed me asking if I'd like a guest post! I quickly checked out her blog and fell in love ;) She has so many whimsical projects it makes me giddy! So without further ado... Miss Stacie Grissom with her 2 tone cardigan transformation!

...........................................

Hello! My name is Stacie Grissom and I am so happy to be posting for Alyssa today on Live. Love. Craft. It is so nice to find a fellow crafter on the Internet and Alyssa is one of the sweetest. ;) During the day, I am a writer for Scarves.net where I write about everything from how to tie a scarf to DIY scarf projects. At night, I spend WAY too much time on Pinterest and work on my own craft blog, Stars for Streetlights. I am so excited to share my tutorial on how to make a two-tone cardigan!
Court Jester Cardigan
And here is the back of the finished product:
 
Court Jester Cardigan
For this project you need: 
-Two cardigans
-Sewing Machine (Not 100% necessary, you can always sew by hand- but it is SO much easier with a machine. :)
-Double fold bias tape 
-Straight pins
Step 1: First you need to take your two cardigans and cut them both down the middle. The coolest thing about this project besides the fact that you create a funky little sweater is that you get TWO of them! I gave the twin of my sweater to my friend Emily. Perfect gift. ;)
Court Jester Cardigan
(I got my sweaters from Target. You can always wait for the sweaters to go on clearance, you just need to make sure that you have 2 of the same cardigan so that they match up.)
Step 2: After you have cut your two cardigans apart, you need to hold them together and pin the bias tape open over the seam of the two cardigans. Then you stitch the two sweaters together on that seam. 
Court Jester Cardigan
Step 3: Next you need to fold the bias tape over the seam and pin it into place. Then stitch that side together and you have your funky cardigan! :) Court Jester Cardigan
Voila!
Court Jester Cardigan
And if you have a dress form, you can totally dress it up in different outfits. Hehe. :)
I want to thank Alyssa for letting me post today! Be sure to also check out Scarves.net's 37 Ways to Tie Scarves-- I love, love, love working there. What girl wouldn't love looking at scarves all day! *le sigh. :) 

....................
Thank you so much Stacie! I love it and I'm definitely going to give it a try!

Tuesday, October 18, 2011

TUTORIAL - Lace Pillowcase


All of my pillowcases are so kiddish... I wanted something more plain and pretty for once :) So I made this! Even though no one sees my pillows... oh well :)

For this tutorial you just need some fabric {any kind really... I used cotton I think}
Some lace string stuff {like I used here and here}
A sewing machine
And a premade pillow case for template

I put the simple version of what you do in the images, but I'll explain a little more on each step.

space away from the edges 1-2 inches like this

flip it over so that two pillowcases would fit, as if you cut this pillowcase open and unfolded it.

cut on the far edge and then cut straight down the top edge so that your fabric is 2x the width of the pillowcase and the same length. Leave 1-2 inches all around the edges.


{right sides together} then sew up the bottom and side. flip it out again and put on your pillow!


So... did you like the tutorial? I hope you did!

Any ideas for tutorials? Pretty please email me if you do!


Thanks guys! Please follow and we'll have an amazing blog bash with tons of giveaways when I hit 200! I just need 20 more lovely followers and we'll be there!


Photobucket

Monday, October 10, 2011

pINTERESTED in making your own clothes?

I've rounded up a bunch of clothes tutorials from pinterest... so take a look and click the link below the pics to see the tutorials.


how to make a pencil skirt
1 piece dress
love this idea! I WILL do it soon!
ruffle shoulder tutorialSource: 
lovemaegan.com via Alyssa on Pinterest


Thanks for reading guys! Please follow because when i get to 200 I'll have an epic giveaway for you all! :D Be excited!


Photobucket

Wednesday, September 14, 2011

Guest Post TUTORIAL - Color Block Scarf by Making Lemonade!


Hey followers of Live. Love. Craft.!

I'm Megan, I blog over here: makinglemonadebymegan.blogspot.com :)

{I kind of slacked in the blogging area this summer... so I hope you'll forgive me!}

Today I am going to show you a tutorial of mine, which was inspried when I was surfing on none other than Pinterest.

I saw this scarf here: http://pinterest.com/pin/157877472/
and knew I had to figure out how to make it.


Friday, September 2, 2011

TUTORIAL - Pleated Headband

 *I made this a while back... It was used for a guest post on Peace Love and Crafts.*

 pleated headband for 25 cents using old scraps!

Supplies:
Hot glue gun
Scissors
Old tee or fabric
Headband (I buy mine at the dollar store.)
Felt scrap
Yarn

1. Cut a rectangle out of your shirt (or whatever fabric you are using.)
2. Fold one of the short ends over and pin.
3. and 4. Make a pleat

5. Continue making pleats all the way down pinning each pleat. Make sure they are all the same size!
6. Once you reach about 3.5 inches, fold the end under and pin
7. Draw out a shape on paper and cut it out

8. Pin template down.
9. Trace around it with chalk.
10. Sew along your lines.
11. Get your hot glue gun heatin’ up and get out your headband, yarn, and felt.

12. Glue yarn around your headband making sure to cover the whole thing.
13. Glue pleated piece on.
14. Glue some felt on the back to secure and you’re good to go!

Now you can wear your headband proudly, and when someone asks where you got it, you can say proudly, “I made it!”


Thanks for reading guys! Life's been busy, so I can only post every other day right now. Hopefully I'll be back to every day soon!

Alyssa

Sunday, August 28, 2011

GUEST POST: Sweet LemoNAYde Hobo Bag TUTORIAL!

 Give a warm welcome to my BFF, Naomi!
............................................................
Hi everyone! I'm Naomi, or Nay, from Sweet LemoNayde. You may remember me from before, showing a tutorial on how to sew a cardigan. Now I'm back with a recycled jeans hobo bag tutorial!

I've always wondered why it's called a 'hobo' bag...


Anyways, I wanted a bag for school. I was, of course, planning on making a hobo bag--not. It was supposed to be a backpack... same thing, right? (that's what I keep telling myself) Well, now I can't really use it for school, but you can still use it for a trip to the beach, grocery shopping, etc. And, if you really wanted to, you could use it for school, but I like two straps supporting my load on both shoulders instead of just one.

What's great about this bag is that there are already pre-existing pockets!

So, on with the tutorial...

Materials: (all the materials for my bag were recycled) an old pair of jeans, a t-shirt hem or a shoelace, cord, etc. for the drawstring; a strap for your bag- mine was from an old messenger, you could also use a necktie, belt, rope, a handle from a leftover pant leg, anything you can think of!


1. Determine how long you want your bag to be. Measure down that much on the outer seam of the pants, and cut off the pant leg to that length. Fold the pants in half, and mirror the cut on the other pant leg.


2. Cut the inseam of your 'shorts,' so that the layers are separated.


3. Use the pant legs and cut 2 pieces of fabric big enough to cover the gaps in the front and back.


Here's a picture of all the pieces.


4. Now pin the 2 pieces of fabric to the openings in the front and back of your open shorts.


5. Sew them in.

6. Turn right side out and trim the seam allowance around the fabric you sewed in.


7. Sew the bottom in a curve-like shape so that the bottom is round.


8. Turn right side out and take your t-shirt hem/cord and pull it through the belt loops. It acts as a drawstring/decoration.


9. Clip your handle to the side belt loops and you're ready to go!


Thanks Alyssa for having me! (o^__^)o
.....................................................
Sooo cute! Thanks Nay!